The advent calendar for bag makers...
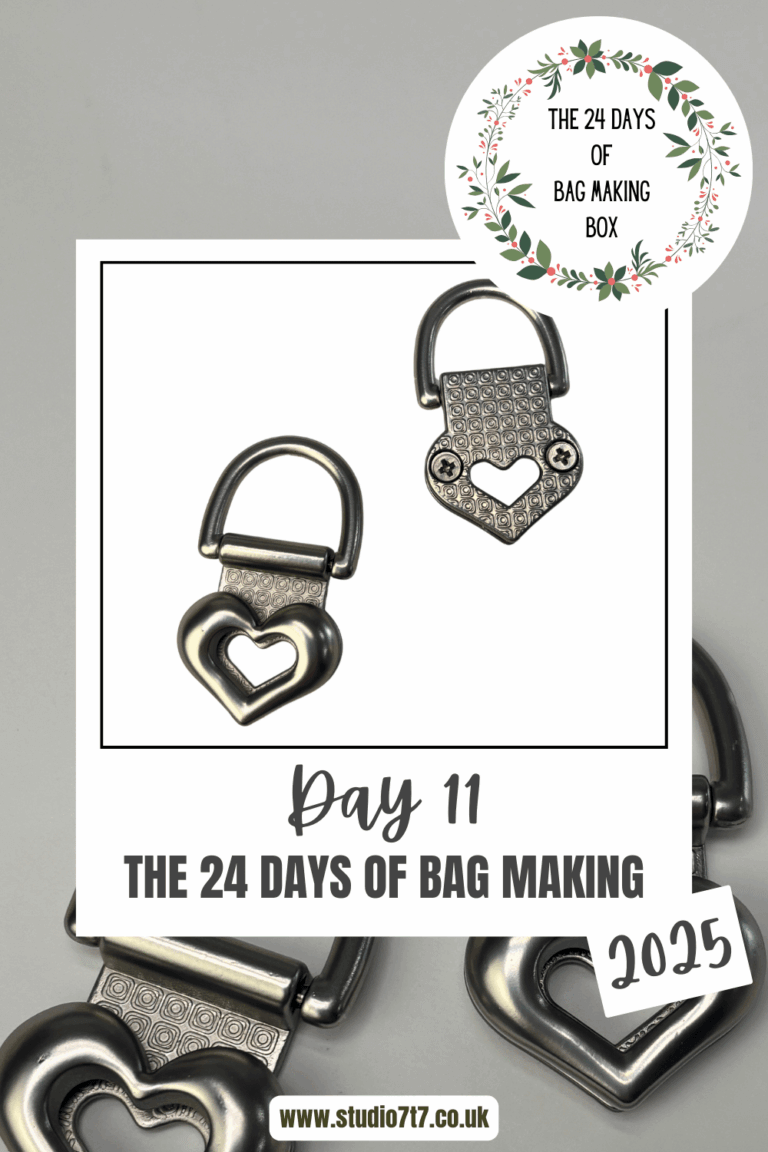
Day 11 brings something that instantly elevates any handmade bag. Today you will find two matt silver strap anchors, a beautiful hardware detail that gives your bags a clean, professional finish.
Adding extra bling to your bag is a great way to level up with not too much effort and strap anchors are one of those pieces that make people stop and ask where your bag came from.
The matt silver finish adds a soft, modern look that pairs perfectly with the zip pulls from Day 7 and indeed all the hardware included in the calendar.
What I love about strap anchors is how they change the personality of a pattern. You can take a simple tote or crossbody design and, just by adding these, shift the whole aesthetic from casual to refined. They work beautifully with faux leather, waterproof canvas and coated fabrics, making them a versatile addition to your hardware collection.
For anyone who has never used them before, this is your invitation to try. They are easier to install than many beginners expect and they make such a satisfying difference to the final result.
This pair has a lovely weight and a smooth finish, so once they are on your bag they feel secure and intentional.
Scroll down to find out some tips on installing them…
To install them:
- Undo the screws from the back (be sure to keep them safe!) and you will have two parts – we will call them the front and back. The front being the small heart and the back being the part with the D ring attachment.
- There are two ways to insert and use these on your bag.
A: Have the strap anchors sit with the D ring above your project so that the bottom of the D ring section is above the edge of the bag.B: Create a hole for the bottom of the D ring section so that it can sit through to the top of the bag, along with the heart.
- A: You will only need to cut the two holes for the screws. You will have the back part of the anchor seen on the inside of the bag and can add them at the very end of creating the bag.
Carefully place the back of the strap anchor on the inside of the bag and mark the holes before cutting through all the layers of the bag. (Be sure to keep all layers aligned while you do this!).
Note: Ideally you would slip a small piece of decovil (with the holes for the screws also cut out) in between the layers – if the turning hole is left open for example. This will help add support for the strap anchor.
Adding fray check to the hole at this point is a good idea if you are using a fraying fabric like cotton.
Then redo the screws to keep the two parts together. Adding a little E-6000 glue to the screw hole before doing up the screw is also good to keep it locked together.
B: For this technique you need to create the holes for the screws as well as the hole of the bottom of the d ring. The back of the strap anchor will be in between the lining and outer fabric for this technique.
For the hole at the bottom of the d ring, you will want to do a facing technique to create a hole. If you want to see what that looks like you can watch this reel for how I do this. Effectively you are doing a similar method to creating a faced zipper pocket.
Once you have this hole created, place the back so that the bottom of the D ring is through this hole and then mark in the screw holes, before cutting the holes out of the outer layer.
Finally, redo the screws to keep the two parts together. Adding a little E-6000 glue to the screw hole before doing up the screw is also good to keep it locked together.
Curious as to what the rest of the box looks like and don’t want to wait? You can watch the full unboxing below…
And pop back to this blog for the rest of the days or read along to the next blog post for what the next day brings!
Missed out on this advent box? You can find any possible extra stock here.
One Response
love these – so pretty x